


The transition to renewable energy is no longer a futuristic concept; it is a practical financial and environmental decision. A home solar installation is a structured process of integrating photovoltaic (PV) technology into your residence to generate clean electricity and reduce dependence on the traditional power grid.
In this guide, you will learn the exact roadmap to achieving energy autonomy, from the initial roof assessment to the moment you flip the switch on your new solar system.
Is Your Home Ready? The Preliminary Site Assessment
Before purchasing hardware, you must determine if your property is a candidate for solar energy. Not every roof is created equal.
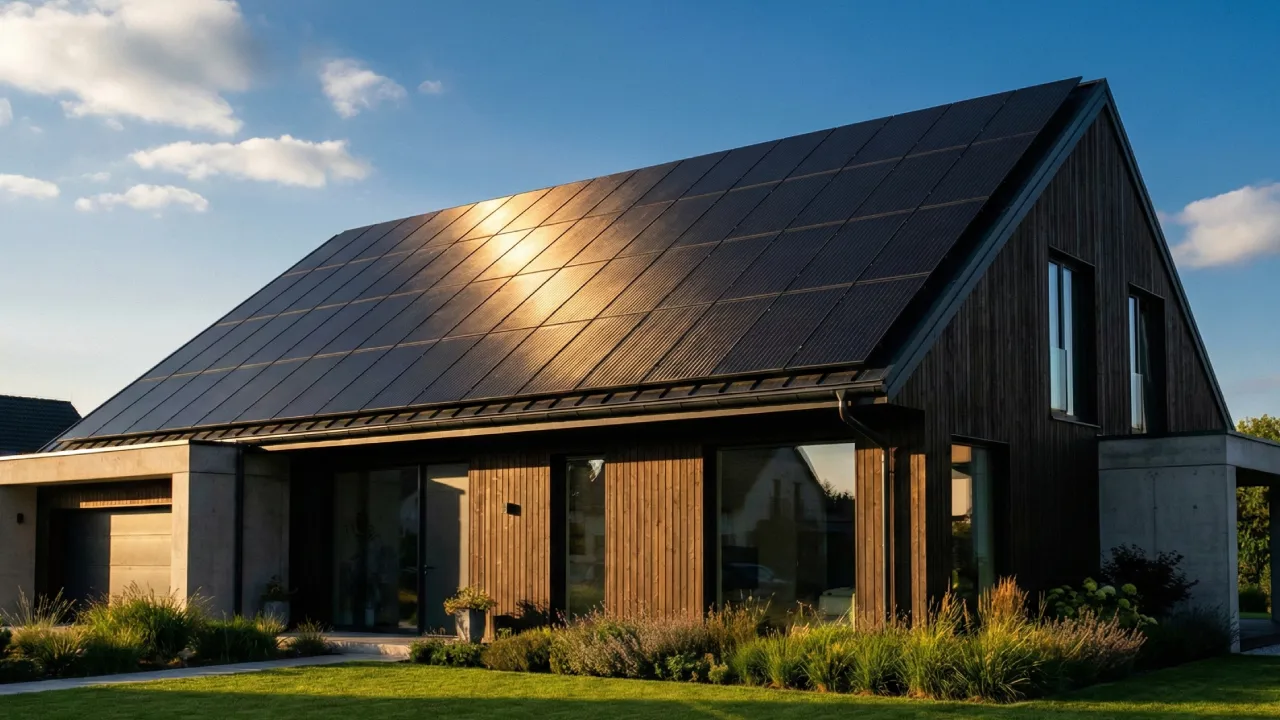
Solar potential is the measurement of how much sunlight your roof receives, influenced by geographic location, shading from trees, and roof orientation. Ideally, a roof should face South (in the Northern Hemisphere) to maximize exposure.
Key factors to evaluate:
- Roof Condition: Your roof should have at least 15 years of life remaining.
- Orientation and Tilt: A 30 to 45-degree tilt is optimal for most residential systems.
- Shading: Use a “Solar Pathfinder” or digital mapping to ensure nearby structures don’t block the sun during peak hours (10 AM – 2 PM).
Core Components of a Solar System
Understanding the hardware is crucial for making an informed investment. A standard solar panel home installation consists of more than just the blue or black cells on your roof.
1. Solar Photovoltaic (PV) Panels
These are the most visible part. They convert photons from sunlight into Direct Current (DC) electricity. High-efficiency monocrystalline panels are currently the gold standard for residential use.
2. The Inverter
The inverter is the “brain” of the system. It converts the DC electricity produced by the panels into Alternating Current (AC), which is what your home appliances use.
3. Racking and Mounting Systems
This is the equipment that safely attaches your panels to your roof. It must be wind-resistant and properly flashed to prevent any roof leaks.
The 5 Steps of a Professional Installation
A professional installation ensures safety, compliance with local codes, and maximum efficiency. Here is the typical workflow:
Step 1: Engineering Site Visit
A technician will visit your home to inspect the electrical status of your house and ensure the roof can handle the additional weight of the panels.
Step 2: Design and Permitting
Once the data is collected, engineers create a specific blueprint for your system. Permitting is the process of obtaining legal permission from local authorities and utility companies to install and connect your solar array.
Step 3: Equipment Ordering
With permits in hand, your installer will order specific components, such as Tier 1 solar modules and high-efficiency inverters.
Step 4: The Physical Installation
This is the big day. The crew will install the racking, mount the panels, and complete the electrical wiring. This usually takes 1 to 3 days depending on the complexity of the roof.
Step 5: Inspection and Interconnection
Local officials and your utility company must inspect the system. Once approved, you receive “Permission to Operate” (PTO), allowing you to flip the switch and start saving.
Pro Tip: Ensure your installer handles the “Interconnection Agreement” with your utility provider to enable Net Metering.
Financial Incentives and ROI
The cost of a home solar installation has dropped significantly over the last decade. However, it remains a significant investment that requires understanding the financial return.
| Feature | Description | Impact on ROI |
| Federal Tax Credit (ITC) | A federal subsidy allowing you to deduct a percentage of installation costs. | Reduces upfront cost by 30% |
| Net Metering | Selling excess energy back to the grid for credits. | Dramatically shortens payback period |
| Property Value | Solar-equipped homes often sell for more than non-solar homes. | Increases total home equity |
Solar ROI is the calculated time it takes for your energy savings to cover the initial cost of the system. On average, most homeowners see a full return on investment within 6 to 9 years.
Maintenance and Long-Term Expectations
Solar systems are incredibly durable because they have no moving parts. Most panels come with a 25-year performance warranty.
To maintain peak efficiency:
- Cleaning: Rinse your panels twice a year to remove dust, pollen, or bird droppings.
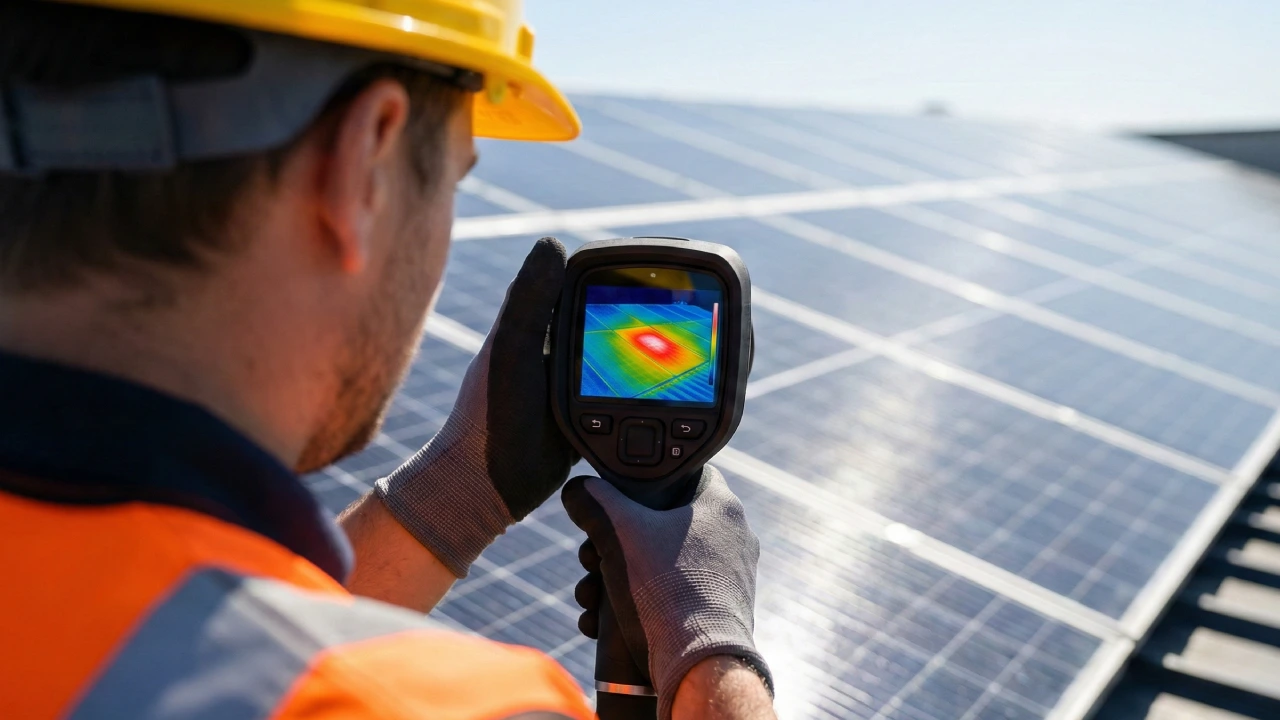
- Monitoring: Use a mobile app to track your system’s production daily. If production drops unexpectedly, it may indicate a faulty inverter or a wiring issue.
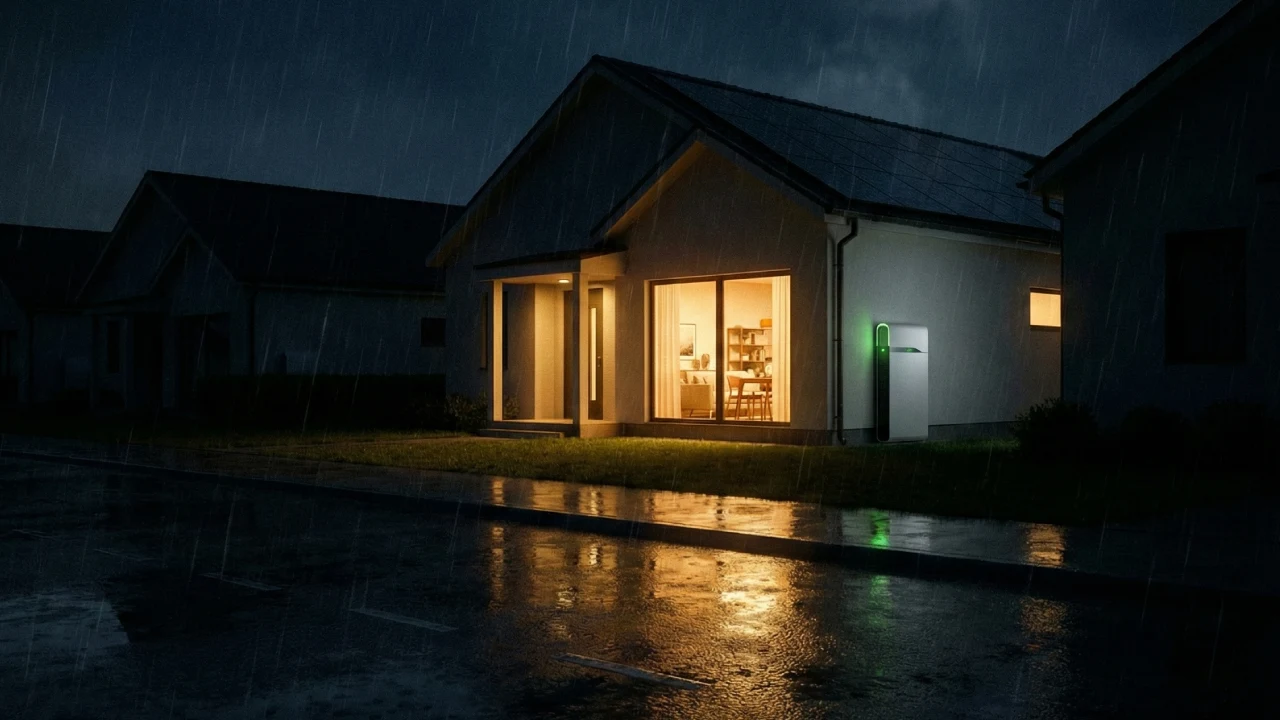
- Battery Storage: Consider adding a solar battery to store energy for nighttime use or during power outages, further increasing your independence.
Final Thoughts on Your Path to Autonomy
Choosing a home solar installation is a powerful way to hedge against rising utility rates while contributing to a cleaner planet. By following a structured process, from assessment to interconnection, you ensure your system performs optimally for decades.
Ready to start your journey toward energy independence? At Electra Solar, we specialize in high-efficiency residential systems tailored to your specific roof and energy needs.
Contact us today for a custom solar design and savings estimate.